Step by Step Guide: How to Make Sushi

To most people, making sushi seems like an insurmountable challenge but it is actually not as difficult as one would imagine. It is a skill that is worthwhile acquiring for people who love sushi and who want to share it with friends. If you make sure beforehand that you have all the things you need to make sushi and if you start with the simplest varieties, you will find yourself learning how to make sushi while having fun.
Planning to Make Sushi
The first thing you have to do in order to make sushi successfully is plan. Decide what types of sushi and how many you will make. For example, you may want to make three kinds of sushi so you have a nice selection: futomaki which are large fat rolls with the nori outside, uramaki which are rolls with the rice outside and nigiri sushi which are balls or spheres of sushi rice with kani or fish outside tied with a band of nori.
Next, make a list of the fillings and garnishes you will use. You might want to use imitation crabmeat, some tuna, cucumber, mayonnaise, omelet, radish, avocado and pickled ginger. You would of course need wasabi, soy sauce and the all-important nori. As base, you need to cook sushi rice which is actually short grain rice flavored with rice vinegar. You will need a sushi mat, a very sharp knife, cling wrap and serving plates. Once your list is complete, go shopping.
Preparing Your Materials
When you are ready to make your sushi, get your materials ready so the preparation process will go smoothly. This means: cutting your carrots into sticks; peeling, removing the seeds from your cucumber and cutting them lengthwise into eight; grating the radish and slicing the fish. Once the ingredients are all set, you can start rolling and shaping your tuna. Cover and put everything in the fridge until you are ready to roll. If you want to learn how to make sushi well then be organized.
Rolling and Serving
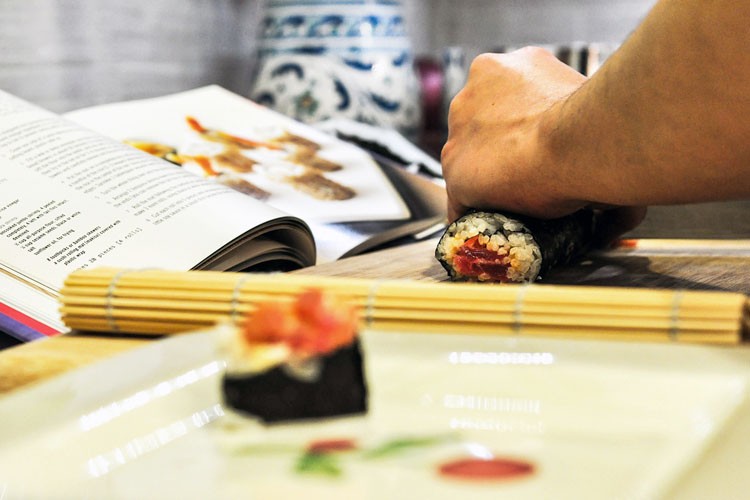
To make futomaki, open out your sushi mat then lay your nori on it with the shiny side down. Carefully spread about a cup of your cooled sushi rice on the nori, leaving about 1 ½ inches of nori on your side. Put a strip of tuna, a strip of cucumber and a strip of carrot on the rice. Carefully roll the sushi ingredients with your sushi mat, gently but firmly until you reach the end of your nori. Try to create a compact roll by pressing with your sushi mat and pulling the roll toward you. Fix both open ends of the cylinder before removing the mat then slice into 6 or 8 pieces.
To make your uramaki, cover your mat with cling wrap then lay your nori on it. Spread sushi rice on the nori. Press the rice firmly to make it stick to the nori, making sure the kernels are not mashed. When this is done, turn the rice covered nori so that the nori is now on the outside. Onto the nori, lay a row of avocado slices, spread a strip of Japanese mayonnaise and add crab meat. Now use your mat to fold the rice and nori mixture over the filling. This should cover the filing completely. Tuck in gently then roll while manipulating the mat to form a nice cylinder. When done, remove the mat and dredge the sushi cylinder in roe or sesame seeds. To set up for serving, cut the cylinder into half then lay them side by side, straightening the open ends. Then slice the two pieces two more times to make a total of six, evenly sized uramaki.
Finally, to make the nigiri sushi, wet your gloved hand and take two tablespoons of sushi rice. Gently close your hand over this and try to make a compact oblong lump. Even out the surface and try to make it look like a small football. Take a piece of tuna or salmon, smear a thin layer of wasabi over it then lay it on the rice. Put a thin band of nori over the sushi.
Presentation is the last step to master if you really want to learn how to make sushi well. With these three types of sushi, you already have a feast both for the eyes and the palate. All that is left is for you to arrange your sushi in appropriate serving plates, garnish with strips of radish and carrot, put in decorative dollops of wasabi, provide a container for soy sauce and finally, enjoy your delicious product.


LEAVE A REPLY